We were called out last fall for to replace an old concrete slab in Secane and the final outcome has completely transformed the space. Follow along with us as we take you through the process of changing this patio space.
Before Renovations Started
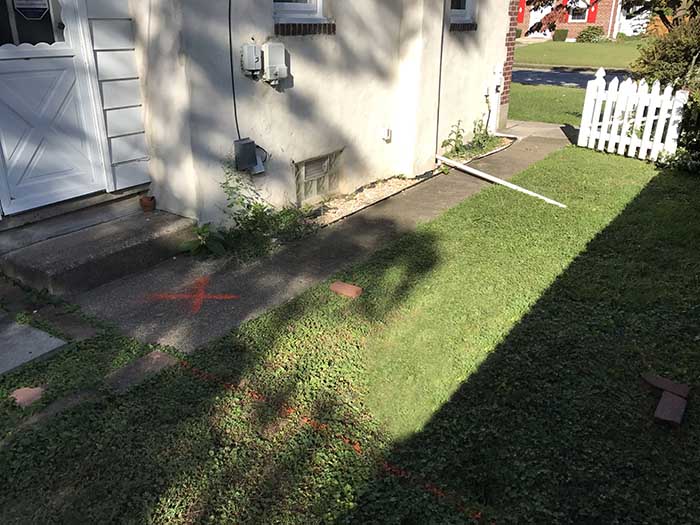
When we first arrived at the house, there was just a small concrete slab and some brick pavers to create a small outdoor space. The owner didn't really spend much time outside and they were looking to add an addition to the house that would allow for a relaxing retreat and a second living space.
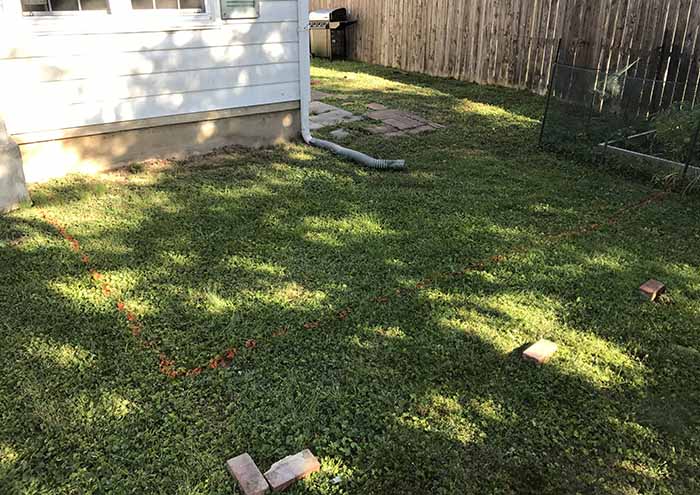
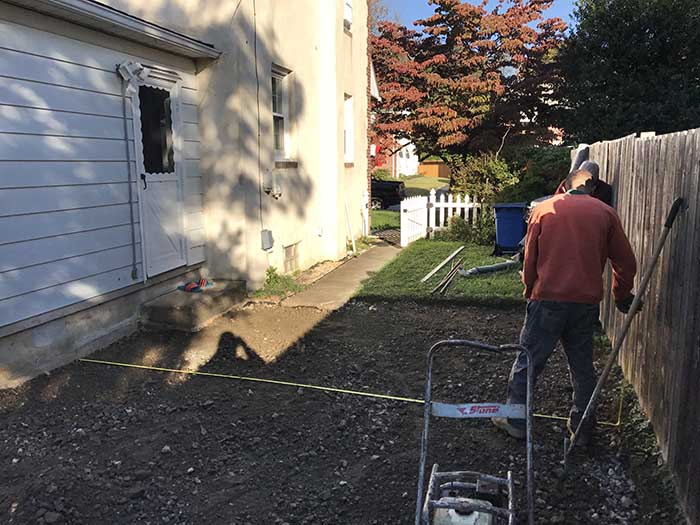
The ground was slightly uneven and we first had to measure out the desired size of the new patio. It was originally going to be a small replacement patio, out their side door up to the fence. After the homeowners took their time and looked at the space and their desired outcome, they decided to expand the space not once but three times! After we marked the ground with spray paint for excavation, they took the end out another 2 feet. This allowed more usable space to create the outdoor living area they were looking for.
During Excavation
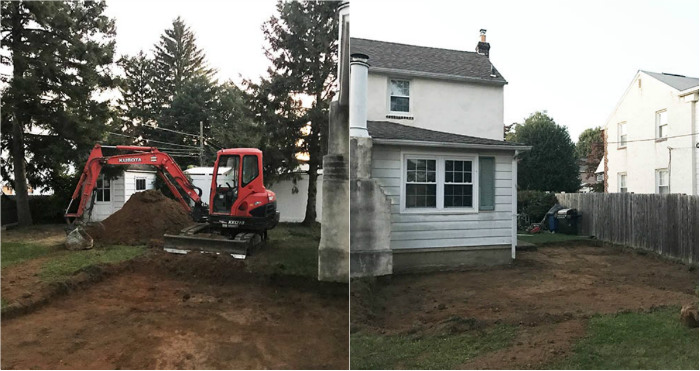
On day one of work, our team went in with a bobcat and excavator and started removing the grass and dirt within the final outline of the space. This included removing an existing vegetable patch while giving their raspberry bushes enough space.
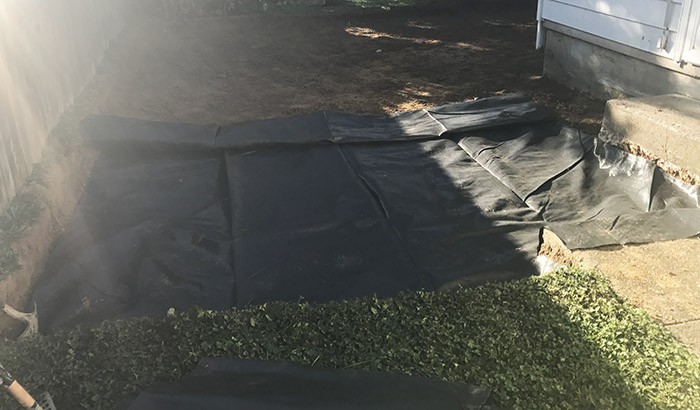
We dig and remove dirt about 8 inches deep, allowing for the required under materials to have space. After hitting the 8 inch mark, we lay a black barrier to inhibit growth under the newly laid pavers. Growth can push up the paver and cause damage.
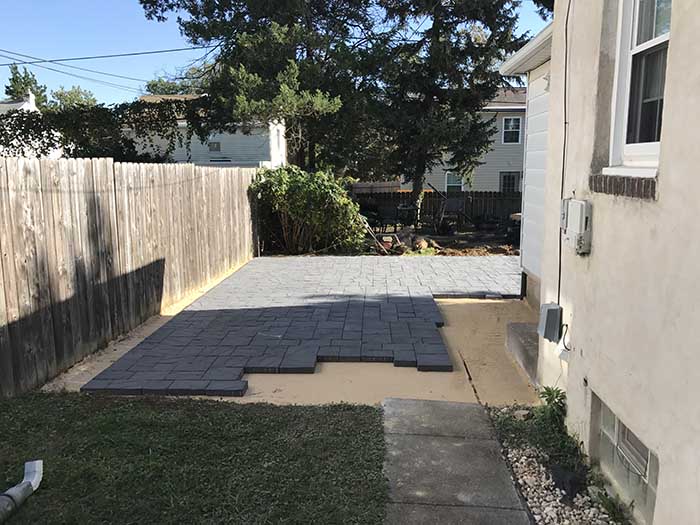
On top of this barrier, we then layer on stones and sand. This is then hard packed and leveled to provide a proper work space to lay the pavers.

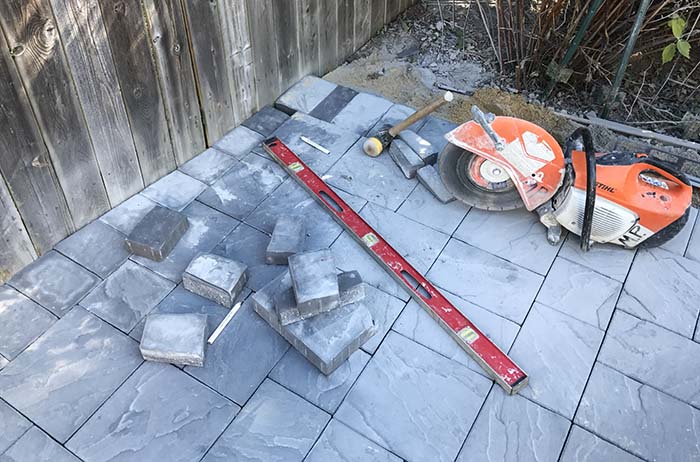
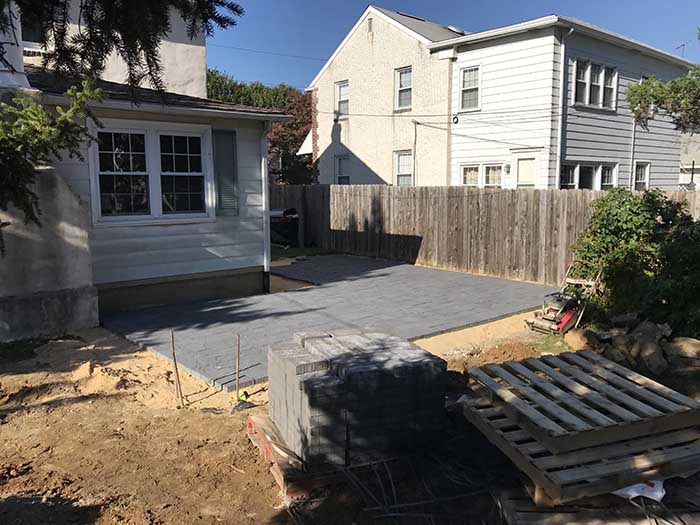
There is always going to be some custom cutting of the pavers to fit the proper space. For this one, we worked on the side of the fence area to create a straight edge and then custom cut a small piece to fill in the small gap between the outer pavers.
Because of the newly expanded design of the patio, we now needed to reroute the existing drainpipe further into the yard while hiding it under the final patio. What we did not want to happen is for the drain pipe to dump water too close to the house and then seep into the basement, potentially causing massive water damage.
We ended up installing a basin further out in the yard for an extended drainpipe to dump into. This would allow the rainwater enough space to drain into without damaging the house.
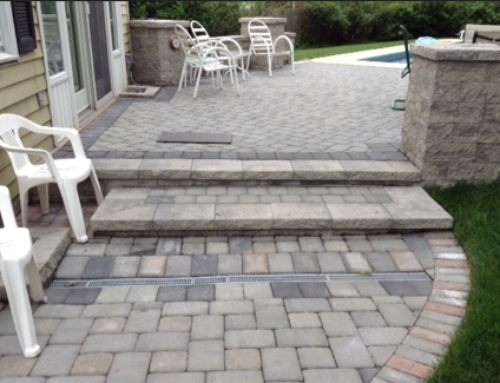
The owner wasn't originally going to replace the step leading off the back of the house, however after seeing the progress of the new E.P. Henry stone compared against the old concrete, they decided to cover the step with the same pavers.
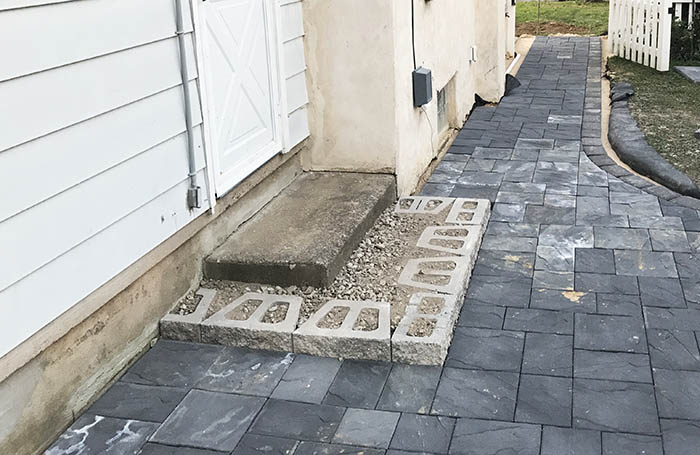
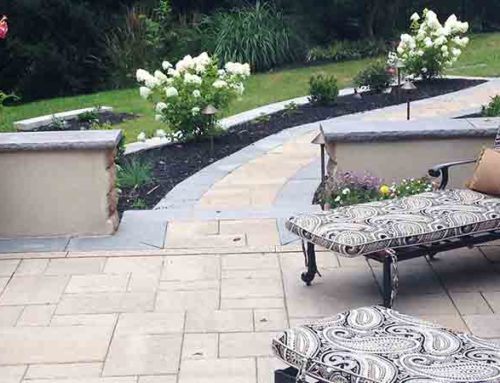
This also led into the removal and replacement of the pathway leading from the back yard to the front. With this extra addition, we curved the edge of the patio space to ease into the new walkway rather than being a sharp corner.
The addition of the front path also required us to re-route an existing sump-pump drain which now releases away from the house in the front yard. We also removed an old planter area that was overgrown and rocky, extending the pathway up next to the house for a unified design.
The Final Patio Design
After our crew was finished with the new design, stair and walkway, it was time to put the finishing touches on the yard. This called for our team to resurface the existing yard and to lay grass seed and hay.
With the cool spring weather and generous rain we've received, the grass has since grown in nicely with a few touch-ups with seed around the edges of the patio.
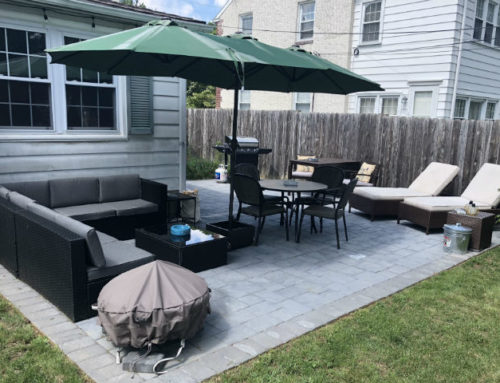
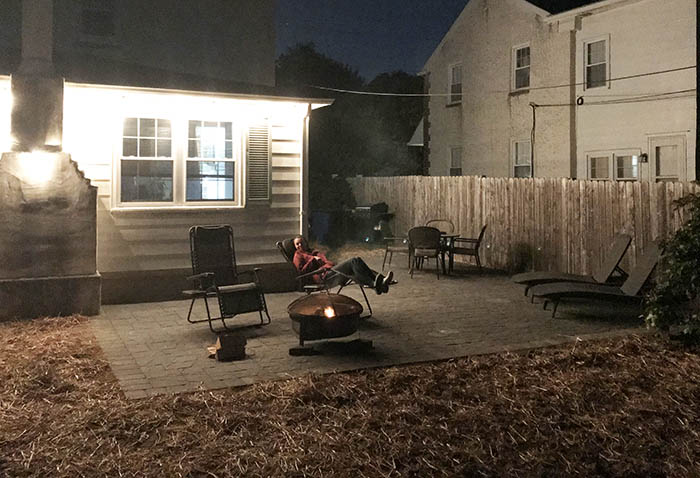
The homeowner has mentioned that they spend an average of 3-4 nights outside and are putting finishing touches on decorating. The large patio space has allowed them to move their grill onto a flat surface, have a large umbrella, two recliner chairs, a firepit and the last piece of furniture being added is a large outdoor sofa.
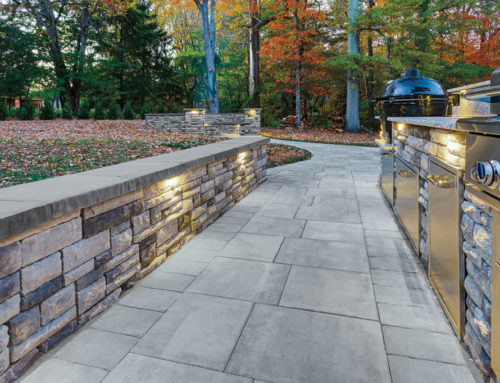
The new patio has completely transformed the outdoor space of this house, including keeping a good size grass area for games in the back and mall grass patch on the side. The Slate Blue and Pearl Chiseled Stone complement each other as well as the decorating in the yard.
Have questions about how we can transform your patio or deck space? Give us a call or use our contact form today to discuss different options!